Showing posts with label Project Nursery. Show all posts

Friday, July 23, 2010

Project Nursery: The Reveal

       Its been a few months in coming but the nursery is now ready for its big debut. Its stuffed to the brim with homemade decor, hand-me-downs, and everything a baby could need...and then some. Perfect, it is not (just look closely at some of my sewing work), but welcoming and ready for a baby it is. By far, more care and energy has gone into this room then any room in our house, and now I've got the itch to move downstairs and tackle some more design projects. 
So....Welcome to the Nursery.
Our changing nook.


 His comfy nest where he'll sleep the night away (crossed fingers), 
and our comfy glider for when he won't sleep the night away.

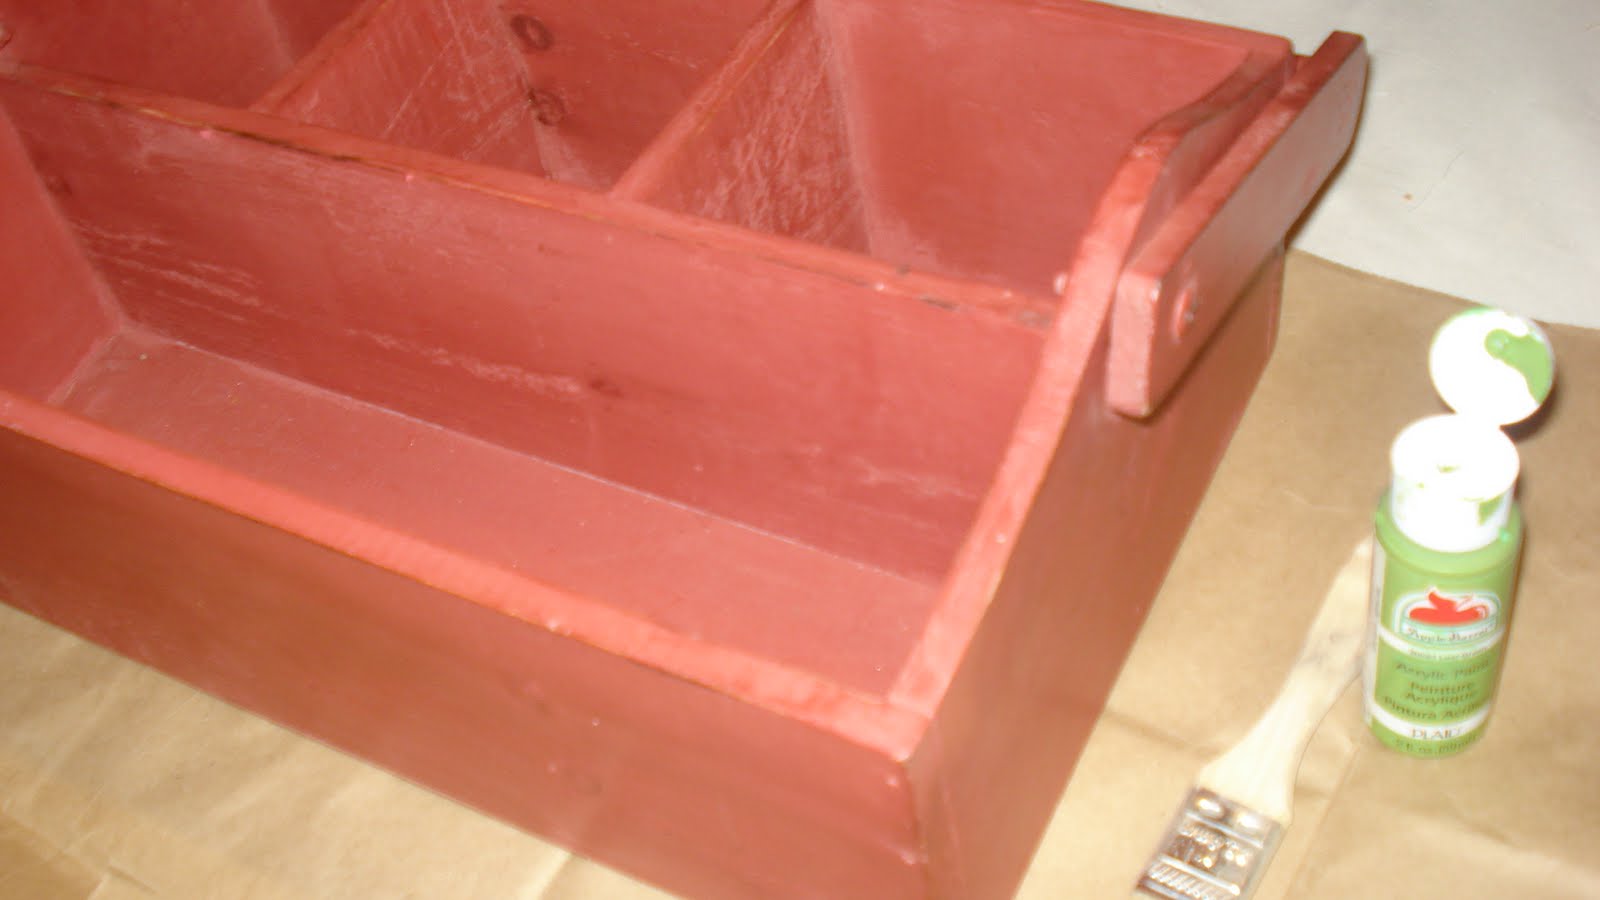
The perfect storage basket for his toys, 
compliments of Grandma Babs.
Some bike love.


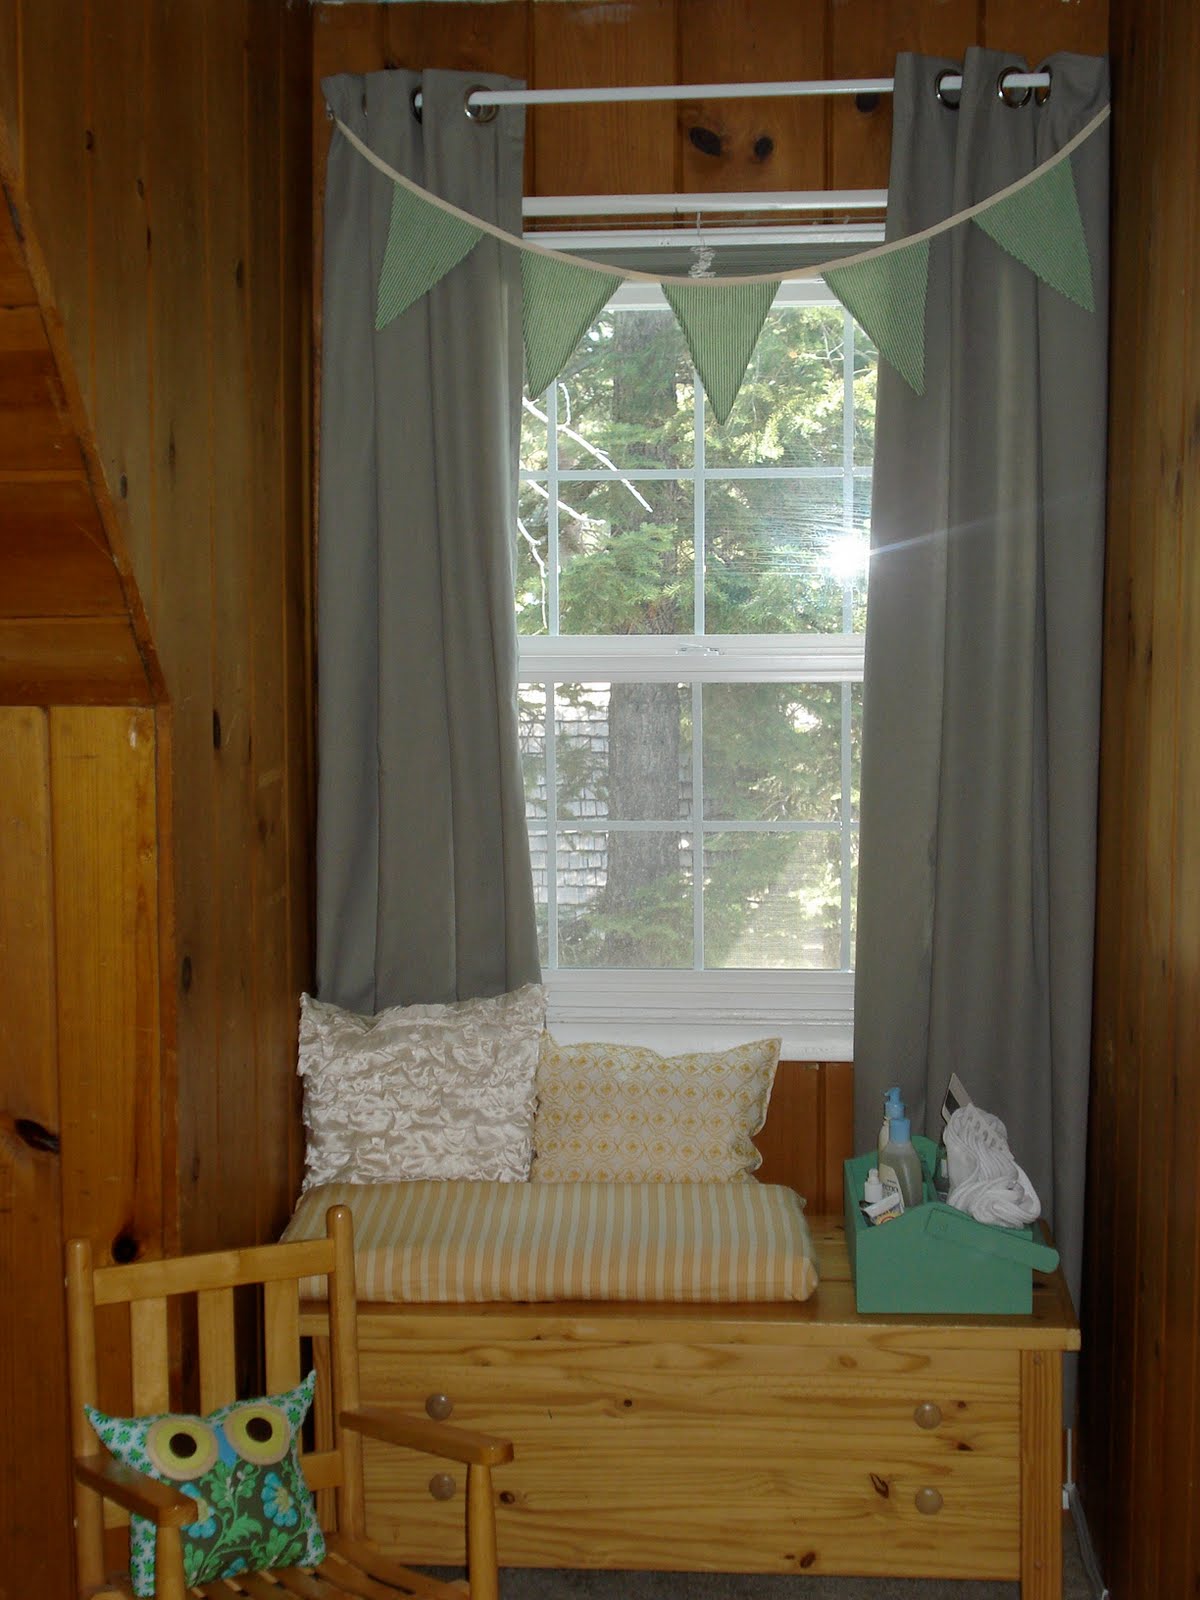
The sunny window seat.


And lastly,
 our hand-me down armoire, turned baby closet.

I found these great storage pockets that 
Jon fastened to that armoire for additional storage, 
which I've already discovered is much needed.
       The grand total spending on our nursery rounded out to....drumroll please...$488.48! Give or take a penny or two. By far the biggest costs for the nursery were the area rug, the collection of bicycle prints, and the glider. We walked away with so many steals in this room: the crib and mattress were very generous gifts from Grandma Babs, the armoire and wooden chest are hand me downs from my sister, the glider and ottoman were a craigslist find that we scored for $60.00 (they threw in clothes and a bumbo too!), the rocking chair was a second hand gift from a work friend, and the dresser was free(!) after being adopted from my old bedroom. 
      Maybe you realized that I have an obsession with prints and textiles, hence all of the  pillows, curtains, rugs, bed skirt and runner. Whenever we make our move, these things should all be able to fit well into another house too. And hey, if there's a baby number two in our future (not immediate my friends), many of these things can transition for a little girls room too. 
Oh, I almost forgot our last addition to the nursery.
We saw him at the hospital and decided he was a keeper.

Wednesday, May 12, 2010

Project Nursery: The ole' runner around

       Joanne's Fabric in Reno, Nevada is quite the sight midweek. I was there on Monday, to hunt down some fabric for one of my final (crossing my fingers that I'm almost done) nursery project. There's quite the collection of people looking for fabric on a Monday in Reno NV. 90% of them are over the age of 70,  some smell pretty terribly of cigarette smoke, and yes, one even had her oxygen with her. I'm certain I could learn enough about sewing to fill a book from this collection of shoppers, and I would be much better off if I did. Lets just say that I feel pretty great about my glamourous life when I'm walking the aisles of Joanne's on a Monday. I fit right in. 
       This week, I was there to find some fabric for a runner to sit atop our dresser-turned-changing-table. The dresser formerly resided in my bedroom growing up, but my generous parents parted with it so that I could put it to use for Baby Milam. 
She's a fine piece of furniture but she needed a little something. 

It took me some waddling up and down the aisles to settle on a fabric choice, but I finally decided that this was the best fit.
After taking some measurements of the dresser, I got to work. 
The dresser is 19" wide, so I measured out 23" of fabric. Giving myself 2" on each side to work with. 
After folding the fabric, I ironed the hems in place to help me when feeding it through the sewing machine. Then it was pedal to the metal
And presto, chango! I just need to add my changing pad a top the dresser and the changing station is complete. 
The runner only took me about 30 minutes to put together, and the 2 yards of fabric cost me $14.00. I'm working on making 2 pillows with the extra fabric that I have. 

Wednesday, May 5, 2010

Project Nursery: A Chair-lift

       This past weekend I gave a gifted hand-me-down rocker a little facelift. There was absolutely nothing wrong with the rocker to start with, but because of the various woods already in the room, I wanted to try slapping some paint on it. 
Here's the before:
So, I unscrewed, sanded and painted. 
And painted. 
And painted.
And 2 days later I ended up with this:
 I utilized some yellow paint that I already had on hand, so it was a free project!
 The best kind. 
It now has a happy little home in the nursery.
      

Sunday, April 25, 2010

Project Nursery: Plush Pillows

       Spring has arrived in Tahoe. That means glorious sunshine and no crowds. The lake looks oh-so-tempting, dogs are frolicking, bikes emerge, walking paths are cleared and its silent outside. Spring and Fall are when we get Tahoe back. No crowds. No tourists. No traffic. Its one of our favorite times here. I feel a bit guilty for spending any time inside with this amazing weather outside, but projects need to get done. 
Luckily, I did get outside this weekend with Blue for some long walks. Its not bad waking up to this.
or this
or this
       But back at the house I had projects waiting for me. This week I received everything in the mail that I needed to create my mobile for the nursery. Look at this beautiful little package of felt that I received from a seller on etsy. 
       Yes, thats felt people. Felt. No it isn't first grade craft hour. This felt will soon be turned into a mobile. I was able to hand pick the colors and they arrived looking oh-so-inviting. I wanted to jump in immediately but needed to wait until I had some weekend freetime. 
       This Saturday I also worked some pillow magic. And for very little cash. 

Here's what I started with:
      Fabric scraps. Lots of fabric scraps left over from other nursery projects. While these scraps are nice to look at and Jon loves it when my craft supplies pile up all over the house, I figured I'd put them to work. Now, before this weekend I had never made a pillow. Not-a-one. But I figured the process must be pretty basic. 
Here' just a sampling of one of the fabrics that I was working with. 
       I had bought this fabric for another nursery project originally but the color was a bit brighter then I had intended. And behind it, that's some white backing that I recently picked up at the fabric store, with this project in mind. 
       Well, making pillows proved to be very simple and took hardly any time at all. 
And remember these ugly pillow hand-me-downs that I ripped the stuffing out of:
Well, I used the remaining stuffing to fill these pillows. 
Drumroll please....here's what I ended up with.

and here they are... ready for the babies arrival.


I'm happy with the outcome and the fact that it didn't put a dent in our budget. The white backing cost me about $10.00 and I got not 1, not 2, not 3, but 6 pillows out of it so far. And there's one more in the works today...

Monday, April 19, 2010

Project Nursery: What are those, flags?

       I fell in love with bunting when I saw it some odd months ago and since then, I've seen it everywhere. And every time I've seen it, I've loved it all the same. I'd been itching to try my hand at fashioning my own bunting but wasn't quite sure if I had the skill needed with the thread and needle. After I succeeded at a few other sewing projects and in the spirit of a hand-crafted nursery, I thought some baby bunting would be a perfect little addition to my list of projects. 
       I debated over different prints and took to the fabric store to find a good fit for our little one's room.
A charming and simple green and white stripe fabric seemed to be a nice balance between being appropriate for a boys room and not too bold to conflict with other prints in the space. 

I trimmed up some extra cardboard into the desired shape and size flag that I was looking for. 

I ended up with ten pieces, two pieces each for my five flags. 
After running them through the sewing machine I had a perfect little collection to begin assembling. 

They were ironed and pinned and ready to be joined together. 

Our fish Stick looks on with excitement for the finished product. 

And Ta-Da! We have bunting. 

Bunting, Bunting, Bunting. 


For less then $10.00 and an afternoon of work, I have a little more decor for the babies room.
 And I'll be using the remaining striped fabric to fashion myself a little pillow for the room. 

Thursday, April 15, 2010

Project Nursery: Done and Done

   I dread going to Reno. I don't like Reno. I avoid Reno. Ugh Reno. It takes an hour to get there, and as hard as I try I cannot make it to and from in less then 5 hours. But, Reno trips are necessities for us mountain folks. This past weekend I tackled Reno, and came home with lots of ammo for my nursery projects. 
       First off, I picked up some paint to finish off a little storage project for the nursery. I adopted this little red tool box from my sister, after she decided she didn't need it in my niece's nursery. 


       I chose a green paint that I had used on other projects from the nursery, which ran me a whopping .59. 

 It took 2 coats of paint and several touch ups to make sure I got every nook and cranny. 
Now I have a much needed spot to store some of babies small supplies.


      Wah la! My .59 project. 
 I think an underlying message here is don't hand over anything to me unless your okay with it being painted. 
       Next up, was a glorious little money saver of a project. When I started browsing crib bedding online I was shocked to find that a lot of bedding sets out there cost $300+. That just seemed ridiculous to me. Especially when you realize that a set only includes 4 crib items (skirt, bumper, fitted sheet, and comforter). After, of course, only falling for sets that were on the pricier side of the spectrum I knew we would need to improvise. And in walked Project: Crib Skirt. 
       I had found a seller on etsy that I could custom order a crib skirt from for $45.00, but I was reluctant to part with that much. Luckily, right about this time, my favorite blog younghouselove.com posted a great tutorial on making your own custom crib skirt. Thus, with a great fabric picked out, some velcro that I already had, and some ironing tape, I was able to create a skirt for less then $10.00. 


Here's a fabric that I hunted down on Etsy. I used about a yard of it, which cost me about $7.50. 

I followed the easy instructions step by step, 
and in about 1 hour I had a crib skirt fit for a King. 
Or a Milam. 


Even Blue seemed pleased with the outcome.

       I still have a handful of projects left for the nursery, and I'm really excited to get working on some of them. Bunting and a homemade mobile are on the top of my list!